Technology •
Dec 7, 2025
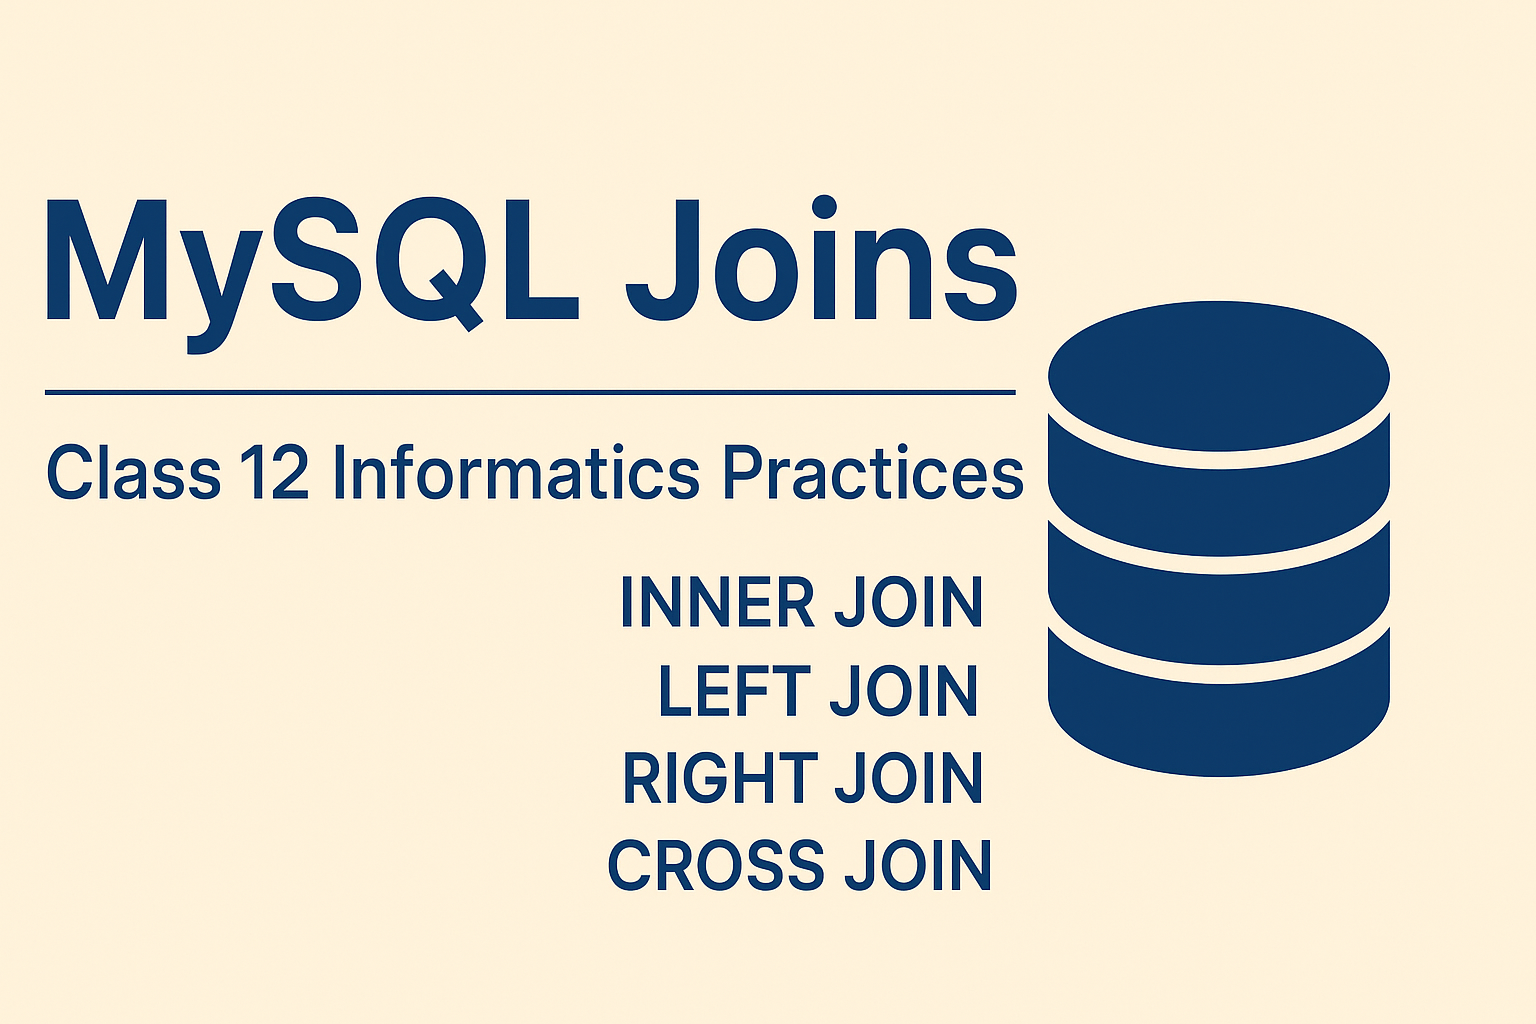
MySQL vs PostgreSQL: A Complete Comparison Guide for Developers
Choosing the right database can make or break your application’s performance and scalability. If you’re deciding between MySQL and PostgreSQL, you’re looking at two of the most popular open-source relational databases in the world. Both are...