Engineering Library
I am a full-stack web developer from India with over 8 years of experience in building dynamic and responsive web solutions. Specializing in both front-end and back-end development, I have a passion for creating seamless digital experiences. When I'm not coding, I enjoy sharing insights and tutorials on the latest web technologies, helping fellow developers stay ahead in the ever-evolving tech landscape.
417 Posts
Page 20 of 42

Uncategorized •
Jun 28, 2025
Vikram Singh Rawat is the founder of Itxperts, a trusted and growing web design and development company based in Shivpuri,...

Technology •
Jun 27, 2025
Discover Google Veo, the powerful AI video generation tool transforming filmmaking, advertising, education, and content creation across India and the...

Technology •
Jun 25, 2025
In today’s competitive digital content economy, publishers are constantly seeking better ways to monetize their audience. While traditional ad models...

Technology •
Jun 25, 2025
In an age where content monetization has become increasingly complex, Google Reader Revenue Manager (GRRM) emerges as a powerful tool...
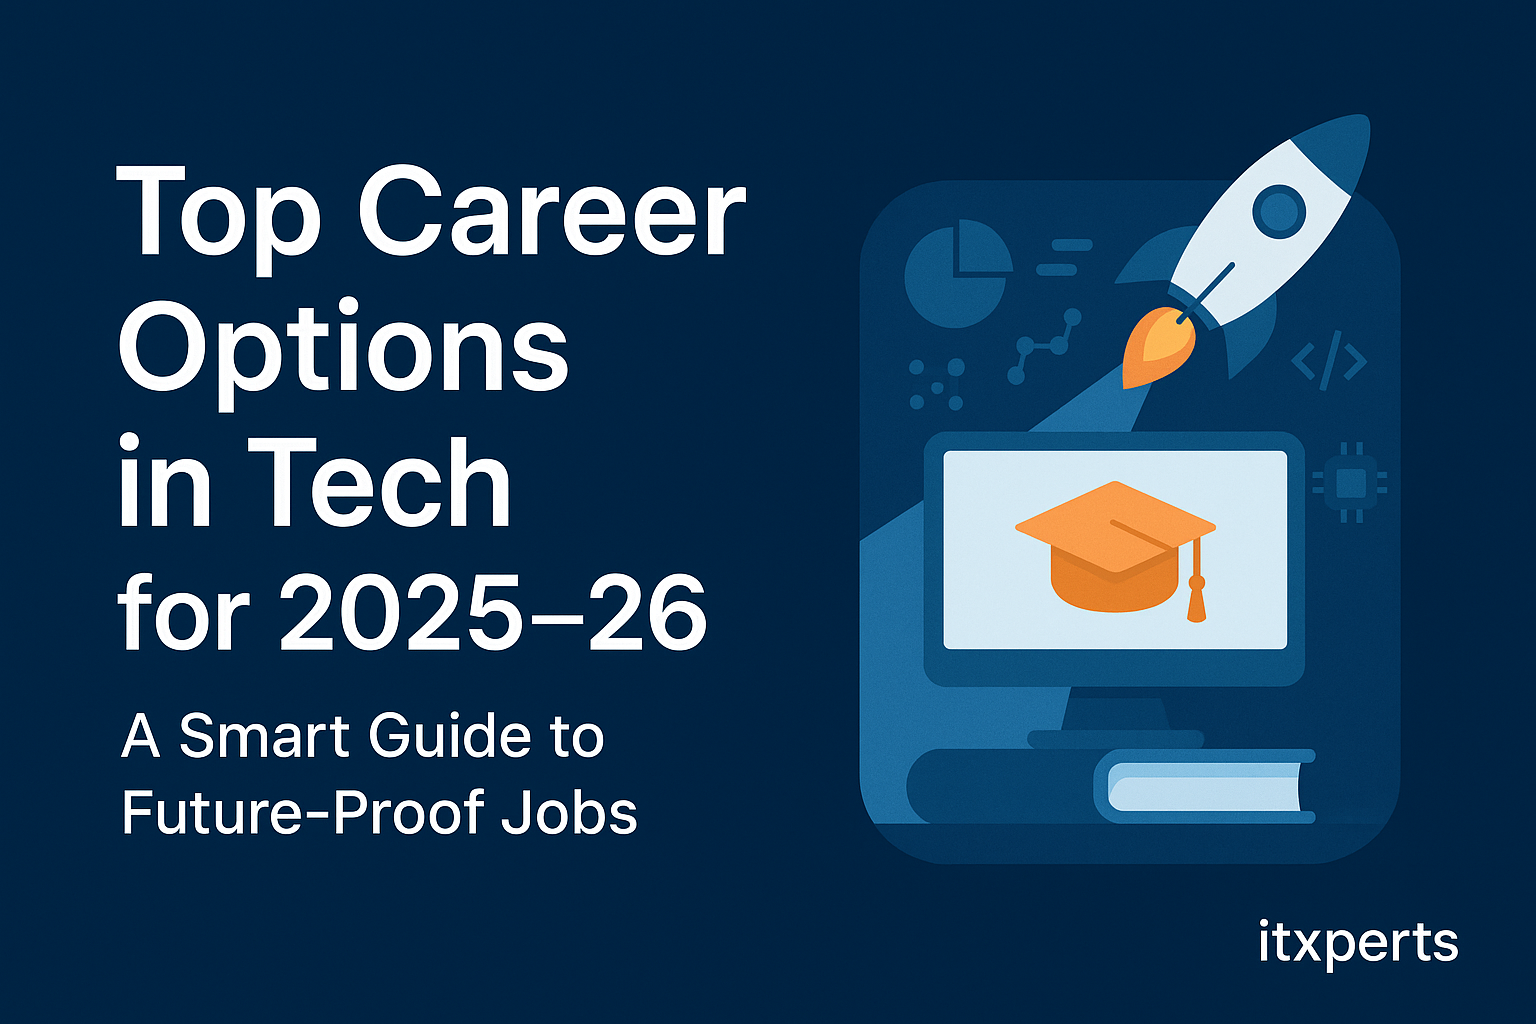
Career •
Jun 21, 2025
Technology is no longer just an industry—it’s the driving force behind every other industry. From healthcare and education to finance...

Technology •
Jun 21, 2025
In one of the largest data breaches ever recorded, over 16 billion passwords have reportedly been leaked online, sending shockwaves...

Web Development •
Jun 18, 2025
IntroductionIn today’s digital-first world, having a website is no longer optional — it’s essential. Whether you’re a small business owner,...

Web Development •
Jun 18, 2025
In today’s fast-paced digital world, IT companies are often tasked with delivering top-tier websites to their clients—quickly, efficiently, and with...

Online Business •
Jun 14, 2025
In today’s digital age, finding a trusted web development partner is more important than ever. If you’re searching for a...

Social Media Marketing •
May 25, 2025
At Itxperts, we believe that change is a sign of growth, and today, we’re proud to unveil our new logo—a...