Engineering Library
Learn MySQL is your go-to category for mastering MySQL, one of the most popular relational database management systems. Here, you’ll find comprehensive guides, tutorials, and tips on everything from database basics to advanced MySQL techniques. Whether you’re a beginner learning about tables and queries, or an experienced developer looking to optimize database performance, our resources are designed to make complex concepts accessible and actionable. Start exploring and unlock the power of MySQL to enhance your data management and development skills!
18 Posts
Page 1 of 2
Informatics Practices •
Nov 11, 2025
Master MySQL for your CBSE Class 12 Informatics Practices exam with these comprehensive practice questions, sample tables, and detailed solutions.
Learn MySQL •
Sep 12, 2025
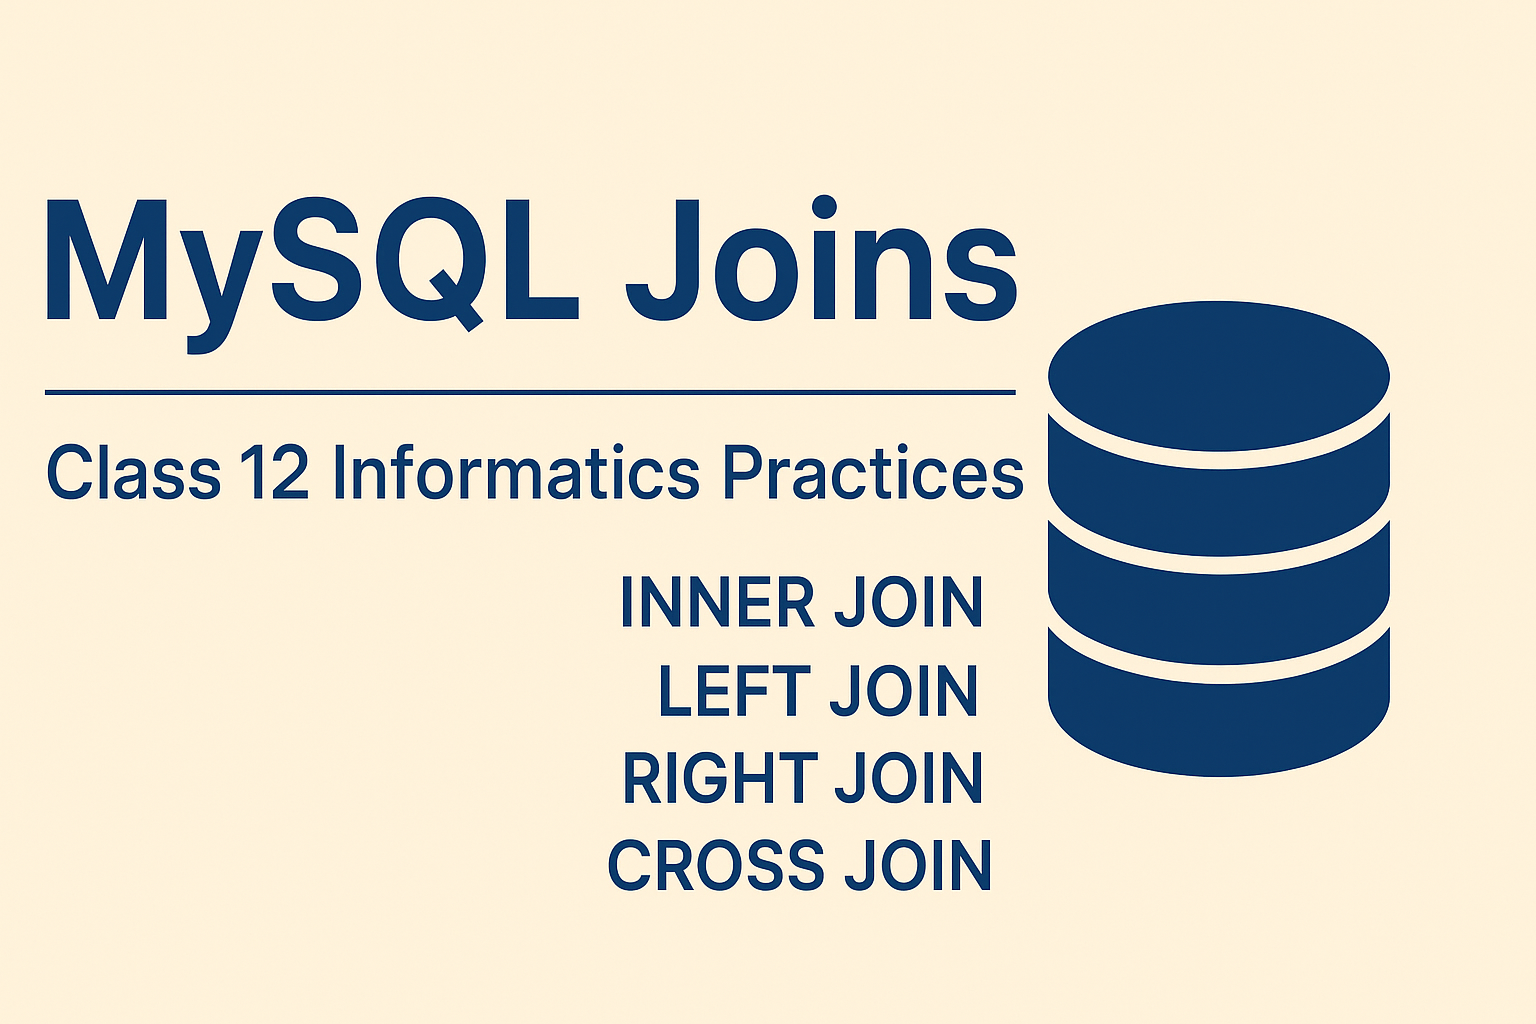
Relational databases store data in multiple tables. Often, we need to retrieve data from more than one table at the...
Learn MySQL •
Jul 10, 2025
Scenario-Based Questions For the following questions, consider this database schema with four tables: EMPLOYEE, DEPARTMENT, GRADE, and PROJECT. Table: EMPLOYEE...
Learn MySQL •
Jan 17, 2025
MySQL is a powerful open-source database management system, widely used for storing and managing data. This detailed guide walks you...
Learn MySQL •
Jan 8, 2025
Introduction SQL (Structured Query Language) is a powerful tool for managing and querying data in relational databases. Here are 20...
Learn MySQL •
Jan 8, 2025
Databases are a crucial part of modern computing, enabling us to store, retrieve, and manage data efficiently. MySQL, a popular...

Learn MySQL •
Dec 4, 2024
In relational databases like MySQL, relationships between tables are essential for maintaining data integrity and ensuring logical data organization. One...

Learn MySQL •
Oct 27, 2024
MySQL is one of the most widely used relational database management systems (RDBMS) in the world. It provides a robust...
Learn MySQL •
Oct 27, 2024
MySQL is a widely-used relational database management system (RDBMS) that supports structured query language (SQL) for managing and manipulating data....
Learn MySQL •
Oct 25, 2024
Understanding the MySQL DELETE Query: A Step-by-Step Guide Author: Itxperts When managing data in MySQL, there are times when you...