Introduction
The APAAR ID (Automated Permanent Academic Account Registry), also known as the EduLocker ID, has become a mandatory digital identity for students under the NEP (National Education Policy). It is linked with the ABC (Academic Bank of Credits) system and helps track students’ academic records.
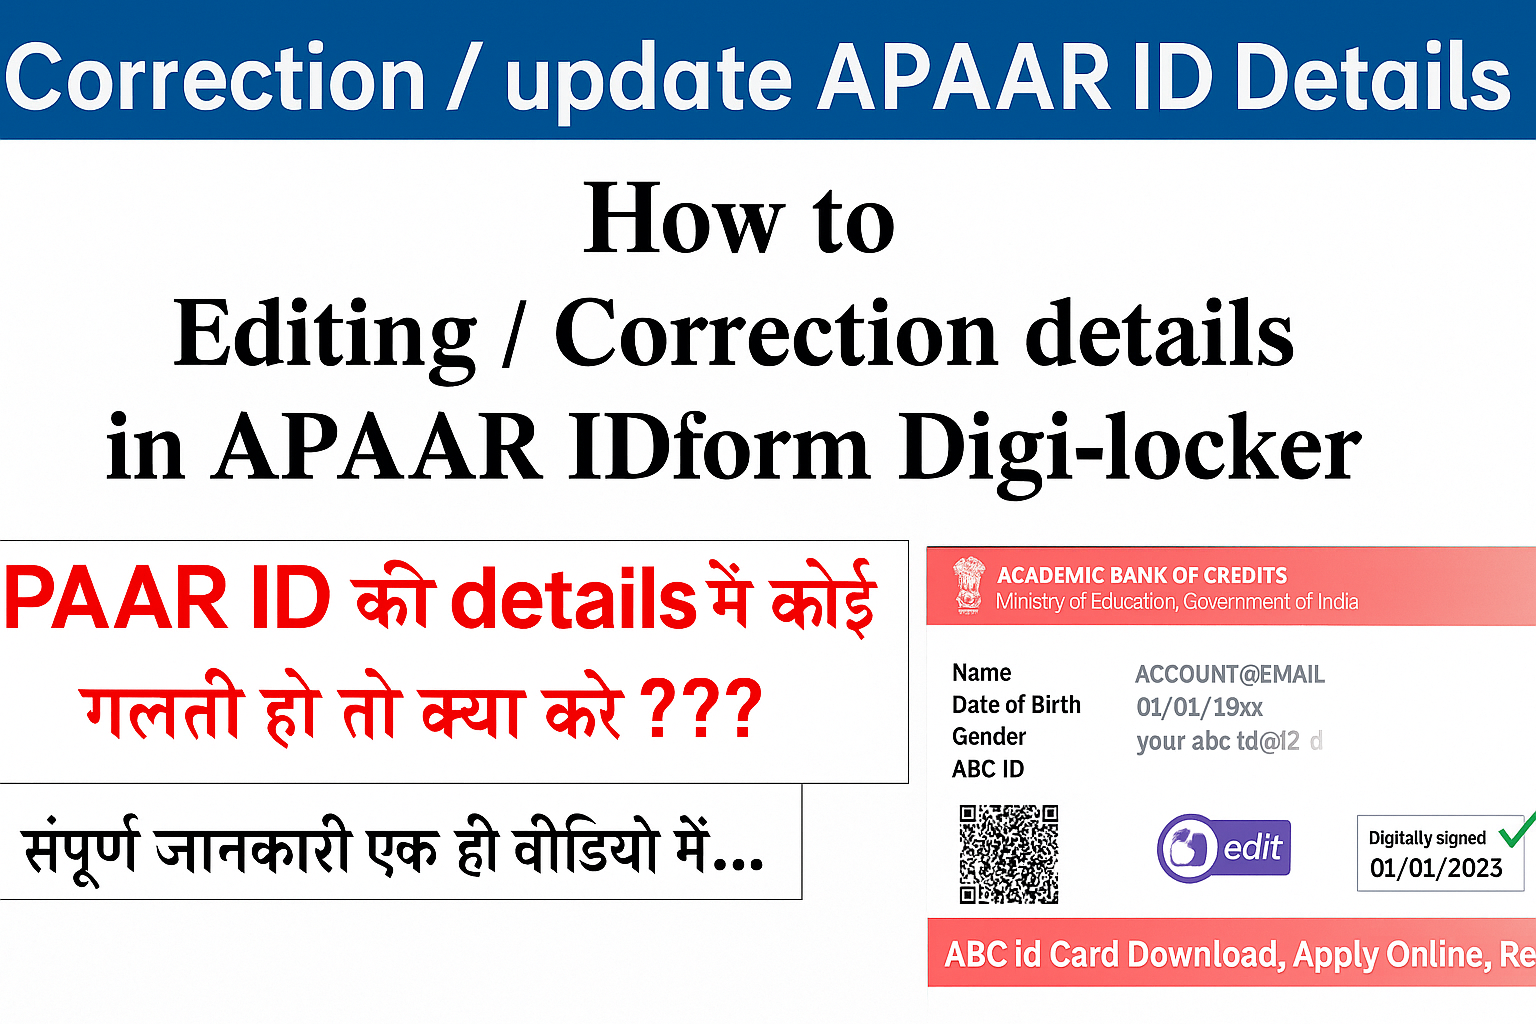
Many students and parents create the APAAR ID but later realize that some details (like name, mobile number, email, date of birth, etc.) need correction or updating. In this blog, we’ll provide a step-by-step guide on how to update details in your APAAR ID after creation.
Why You May Need to Update Your APAAR ID Details
Here are some common reasons why updating is necessary:
- Spelling mistake in Name
- Wrong or outdated Mobile Number/Email ID
- Incorrect Date of Birth
- Need to update Address or School details
- Linking or correcting Aadhaar information
Who Can Update APAAR ID Details?
- Students/Parents: Can update limited details through the official portal.
- Schools/Institutions: If the ID is created by the school, then certain details can only be corrected through the school’s official login.
- DigiLocker/ABC Portal: For Aadhaar-linked updates, you need to log in with your DigiLocker account.
Step-by-Step Guide to Update APAAR ID Details
1. Log in to the DigiLocker Account
- Visit https://www.digilocker.gov.in
- Log in with your Aadhaar-linked mobile number.
- Go to the APAAR/ABC ID section.
2. Access Your APAAR ID Dashboard
- Once logged in, select Education > Academic Bank of Credits (ABC).
- Your APAAR ID details will be visible.
3. Select the Update/Correction Option
- Look for the “Update Details” or “Edit Profile” option.
- You will see editable fields such as:
- Name (if not Aadhaar-locked)
- Mobile Number
- Email Address
- School/College Details
4. Aadhaar-linked Updates
- If your Name, Date of Birth, or Gender is incorrect, you cannot change it directly in APAAR.
- These details are auto-fetched from Aadhaar.
- To update:
- First, update the information in UIDAI Aadhaar (via Aadhaar Seva Kendra or UIDAI portal).
- After Aadhaar update, log in again to DigiLocker/APAAR portal.
- The new details will be reflected automatically.
5. Updating Mobile Number or Email ID
- Go to Profile Settings in DigiLocker.
- Enter your new Mobile Number or Email.
- Verify with OTP.
- Save changes — these updates will sync with your APAAR ID.
6. Updating School/Institution Details
- If you changed school/college or your institute details are wrong:
- Contact your current institution.
- They can update your record using the official School Login provided by the Education Ministry.
- Once updated at the school end, it will reflect in your APAAR ID.
Important Notes
- Name, DOB, Gender → Only updated via Aadhaar.
- Mobile/Email → Can be updated directly in DigiLocker.
- Institutional details → Must be updated through the school/college.
- Always keep your Aadhaar and DigiLocker details updated for smooth synchronization.
Conclusion
Updating your APAAR ID details is simple but depends on the type of correction required. For personal details like Name or DOB, Aadhaar update is mandatory. For contact details, DigiLocker provides easy options. For academic or institutional changes, you need to contact your school/college.
By keeping your APAAR ID updated, you ensure smooth access to all government education benefits, scholarships, and digital academic records in the future.
✅ Pro Tip: Always double-check details before generating your APAAR ID to avoid unnecessary delays in updates later.