Web Development •
Nov 4, 2025
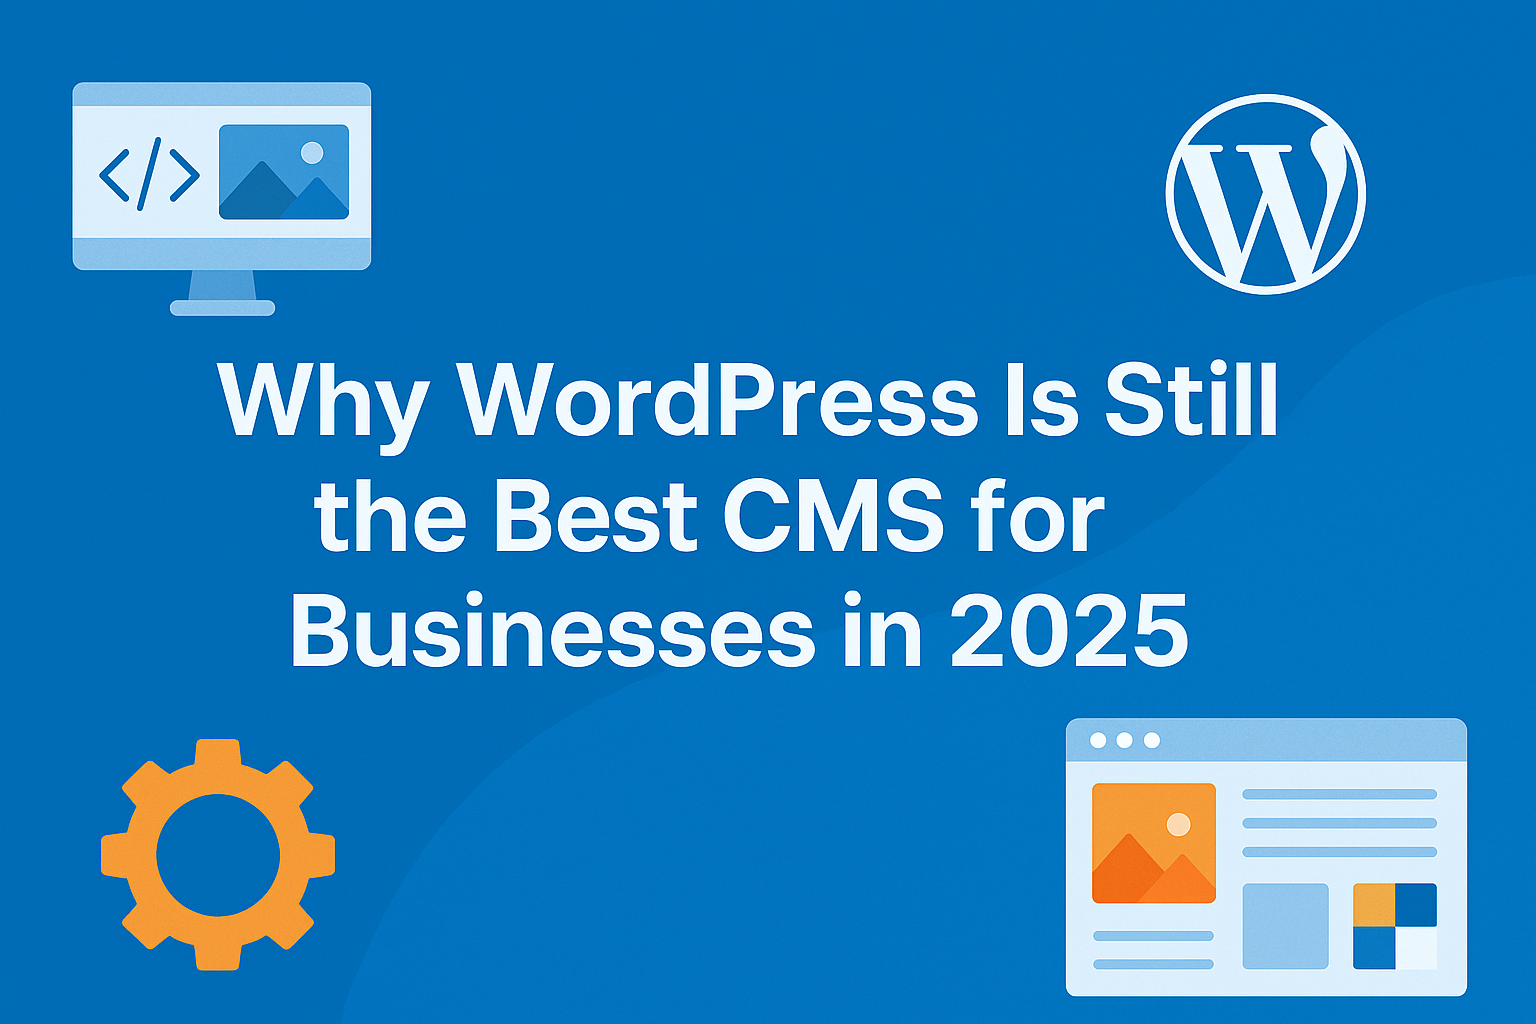
Why WordPress Is Still the Best CMS for Businesses in 2025
Introduction In the ever-evolving digital landscape, choosing the right Content Management System (CMS) can make or break your online presence. With hundreds of website...