Artificial Intelligence •
Jun 4, 2026
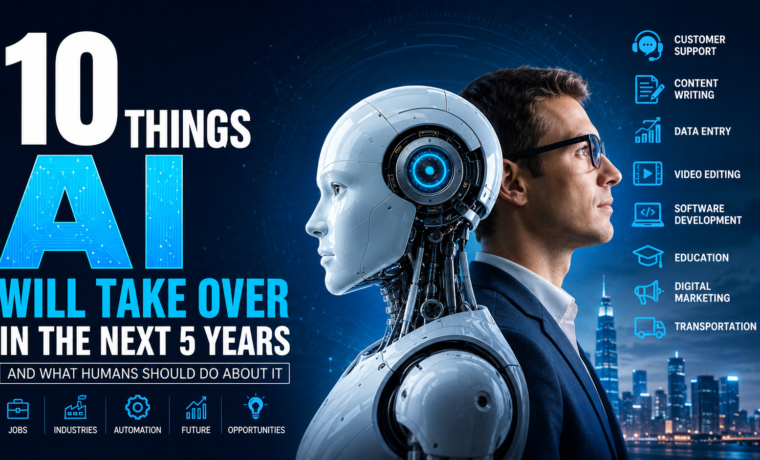
10 Things AI Will Take Over by 2031
Introduction Artificial Intelligence (AI) is no longer a futuristic concept. It is already transforming the way businesses operate, how people work, and how customers...