Engineering Library
I am a full-stack web developer from India with over 8 years of experience in building dynamic and responsive web solutions. Specializing in both front-end and back-end development, I have a passion for creating seamless digital experiences. When I'm not coding, I enjoy sharing insights and tutorials on the latest web technologies, helping fellow developers stay ahead in the ever-evolving tech landscape.
417 Posts
Page 12 of 42

Web Development •
Sep 5, 2025
If you’re planning to launch a website, start a blog, or grow your online business, the first step is choosing...
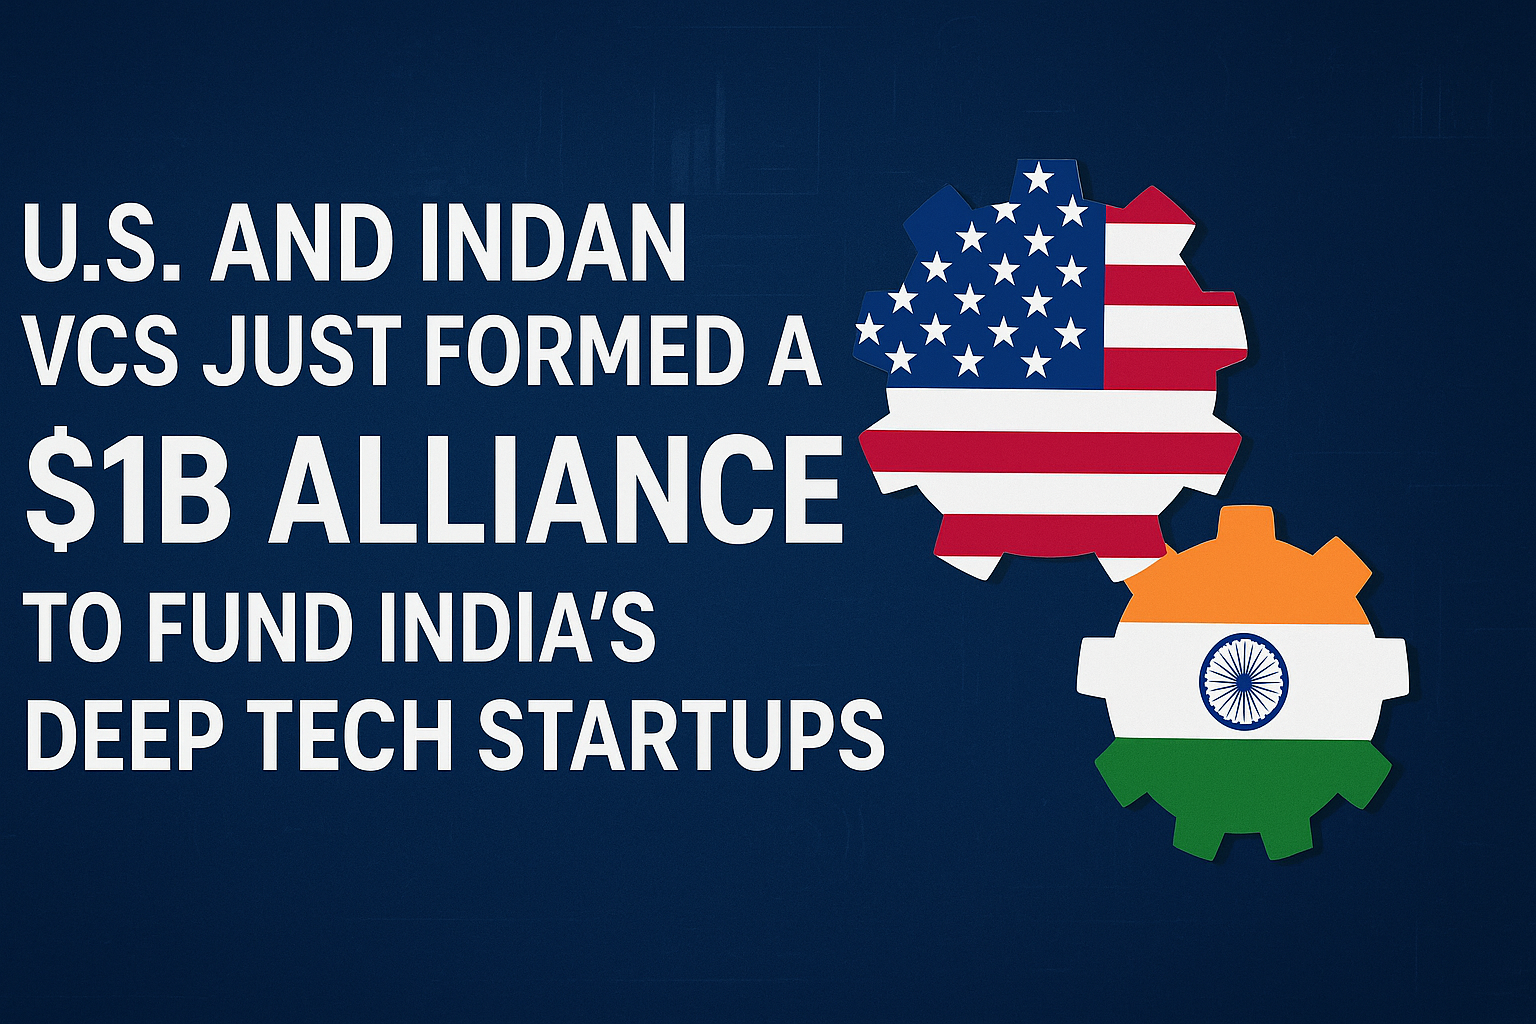
Technology •
Sep 2, 2025
A Bold Step for Deep Tech Innovation A powerful coalition of venture capital and private equity firms from both the...

Technology •
Sep 1, 2025
Looking for a short-term internship to kickstart your programming journey? Itxperts, Shivpuri’s leading IT training and development company, is offering...
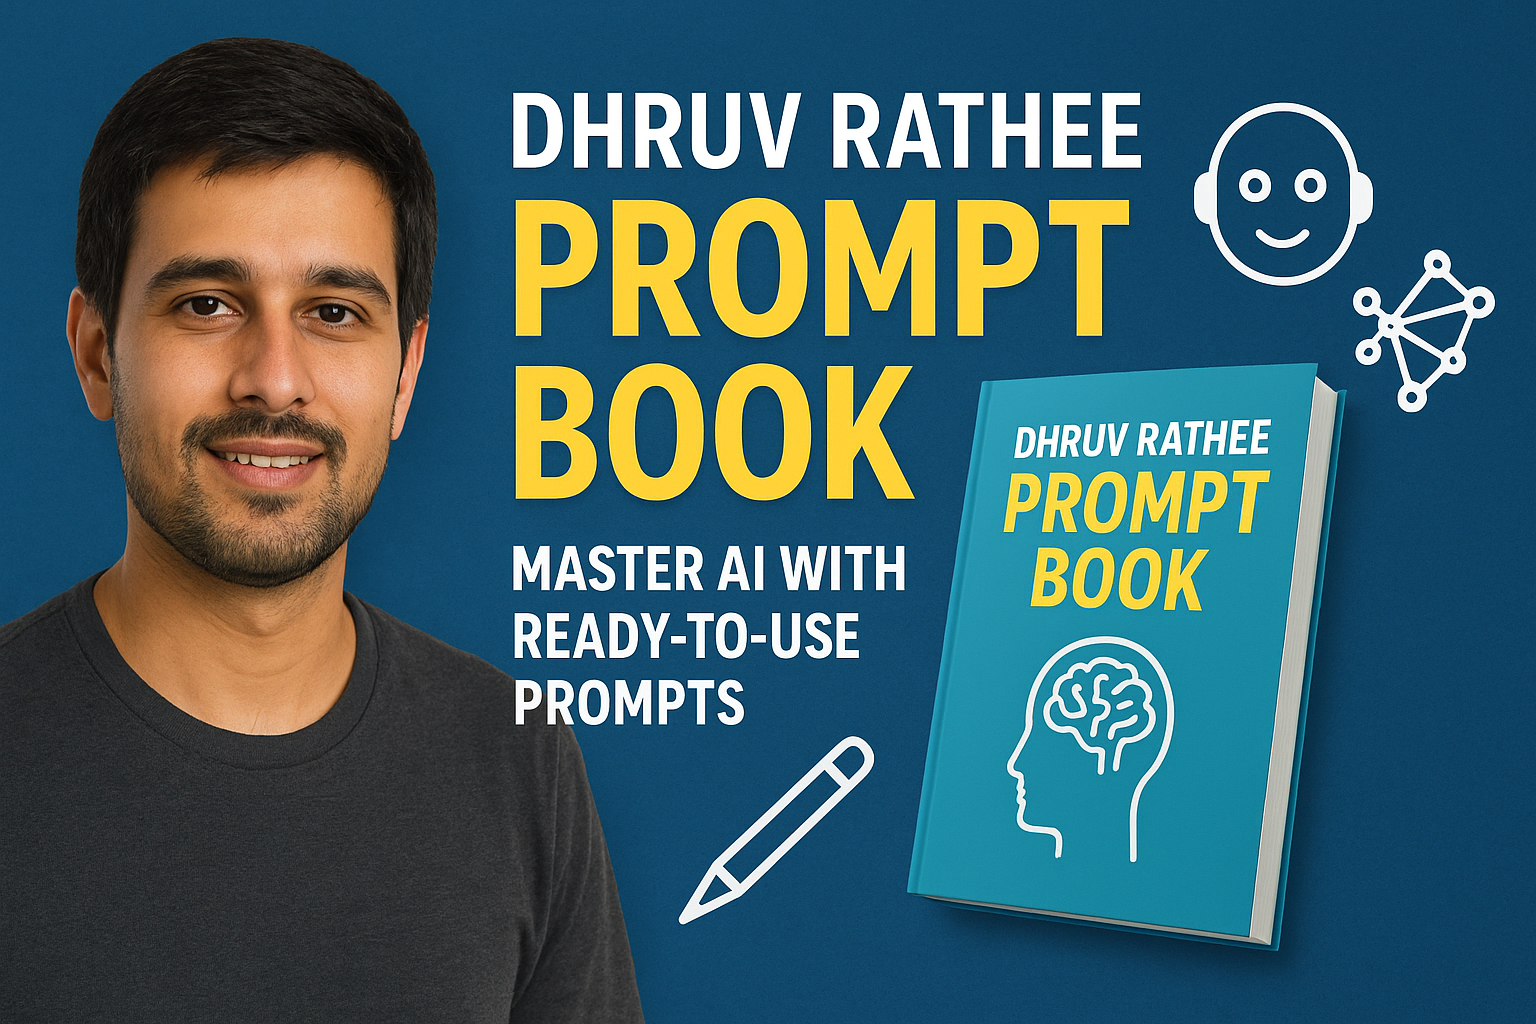
Technology •
Aug 30, 2025
Artificial Intelligence has taken the world by storm, and one of the hottest trends in this space is prompt engineering—the...
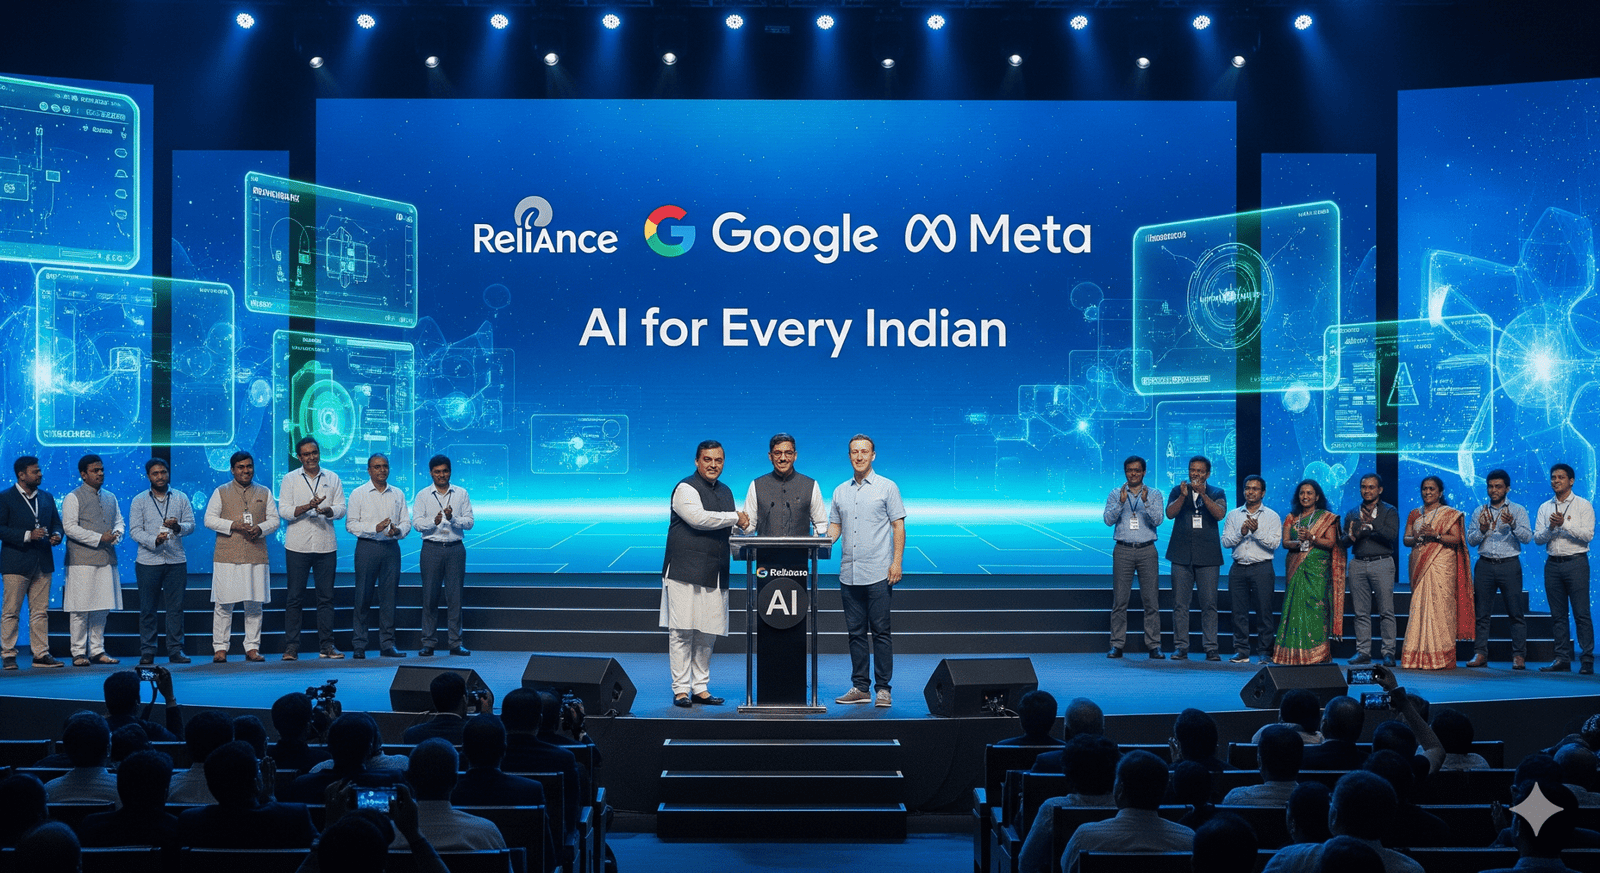
Technology •
Aug 30, 2025
Reliance Industries has taken another big step towards shaping India’s future in technology. At its Annual General Meeting 2025, Mukesh...
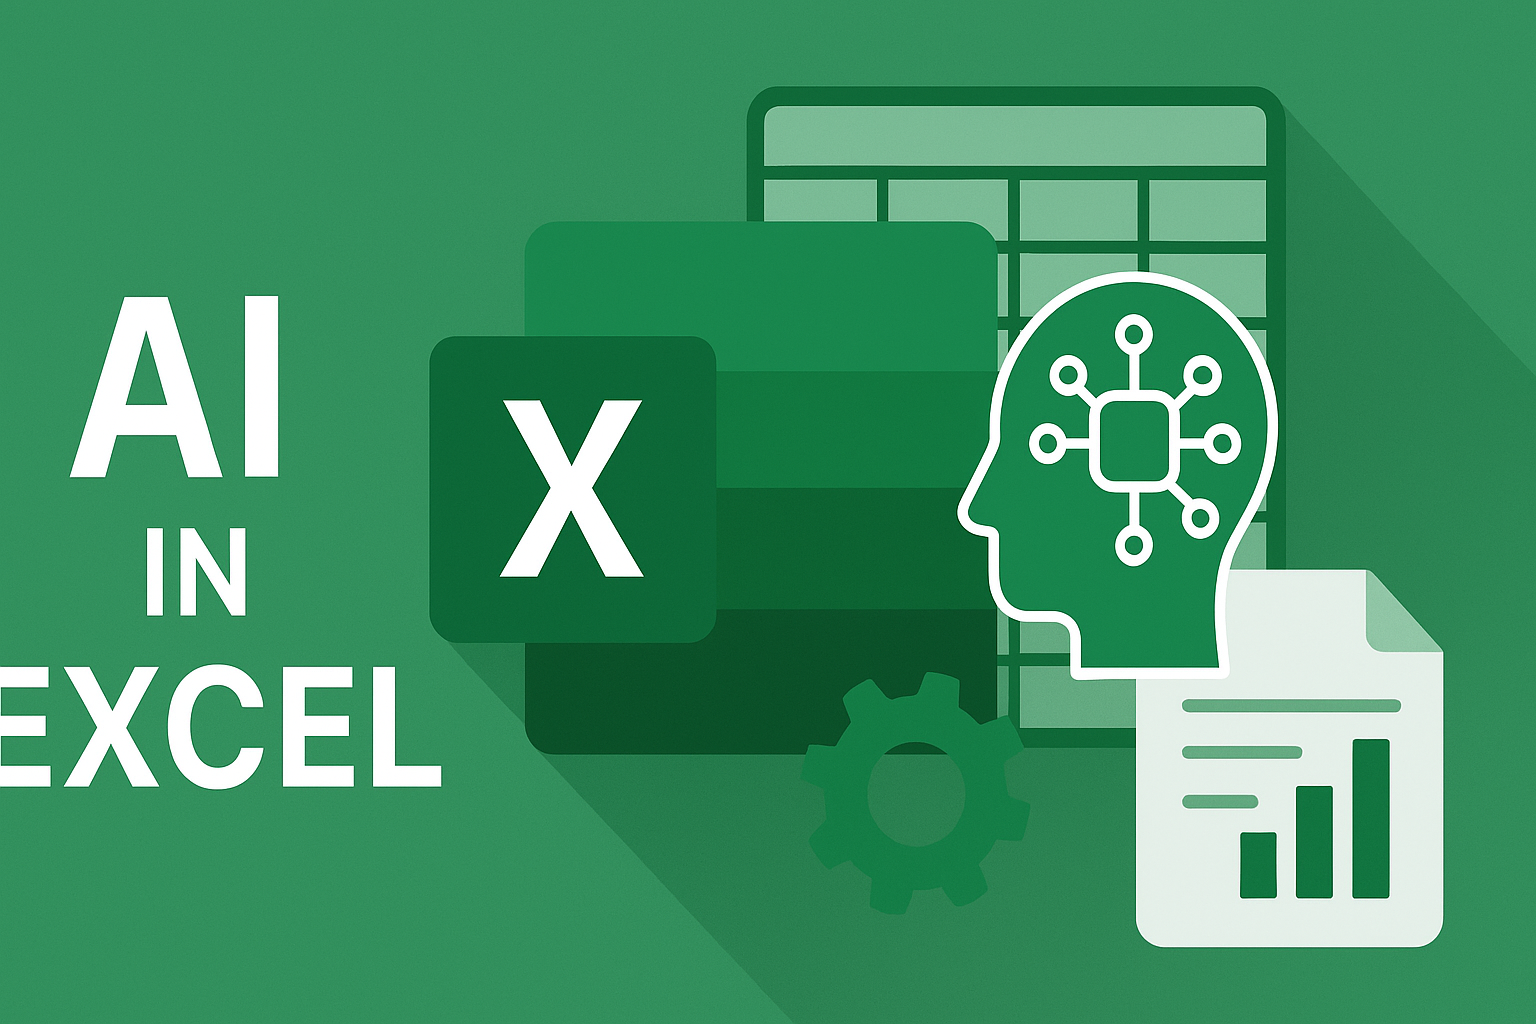
MS Excel Tricks •
Aug 29, 2025
Microsoft Excel has been one of the most powerful tools for data entry, analysis, and reporting for decades. But in...
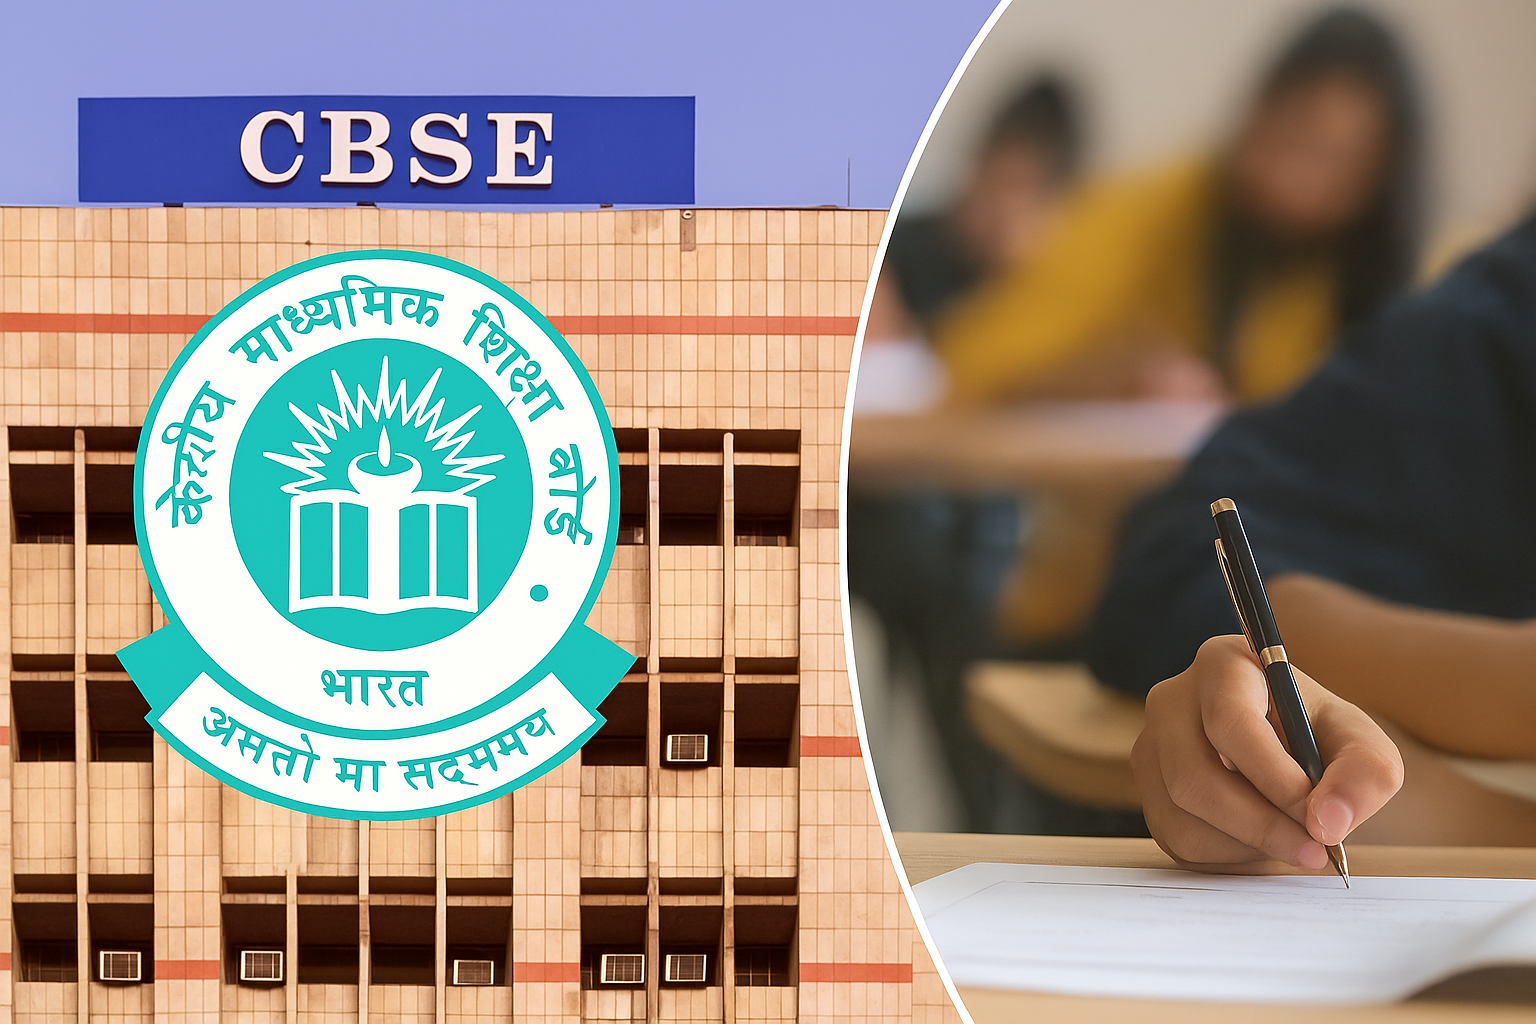
CBSE •
Aug 29, 2025
The Central Board of Secondary Education (CBSE) has introduced a set of major reforms in the List of Candidates (LOC)...
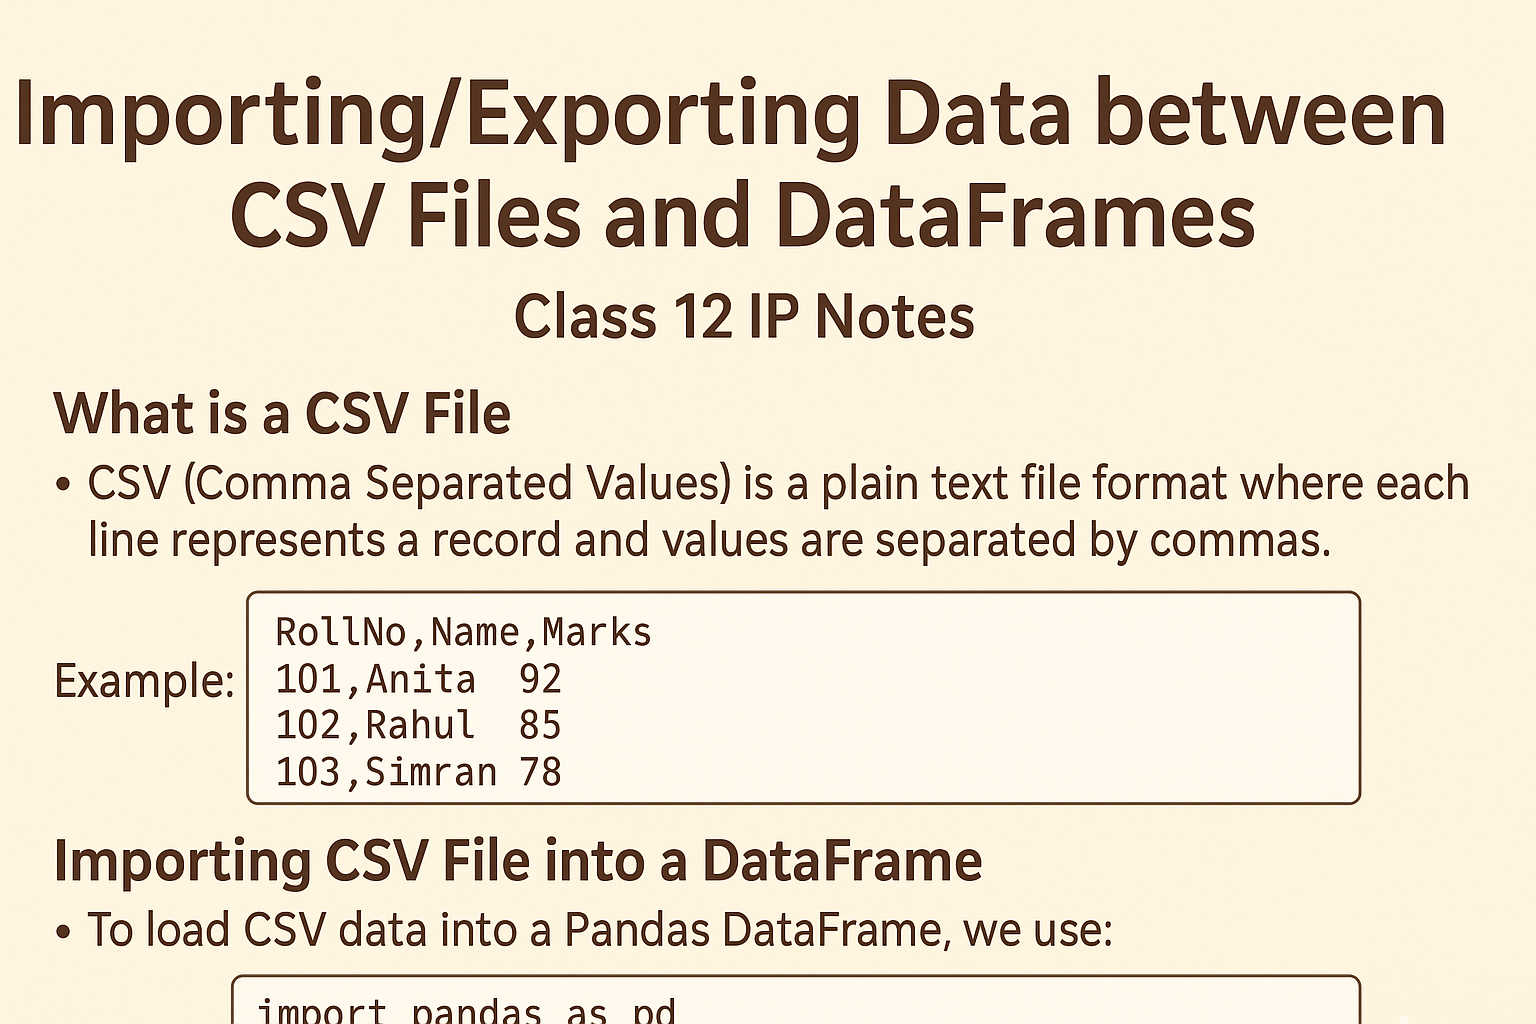
Learn Python •
Aug 28, 2025
Working with data is an important task in programming. In Class 12 Informatics Practices, we use the Pandas library to...

Technology •
Aug 27, 2025
In a groundbreaking step for the future of digital education, OpenAI has announced the launch of the Learning Accelerator Program...
Sample Papers •
Aug 27, 2025
CBSE Half Yearly Question Papers 2025–26 Download class-wise Half Yearly Question Papers for CBSE session 2025–26. Subjects include Artificial Intelligence...