Engineering Library
I am a full-stack web developer from India with over 8 years of experience in building dynamic and responsive web solutions. Specializing in both front-end and back-end development, I have a passion for creating seamless digital experiences. When I'm not coding, I enjoy sharing insights and tutorials on the latest web technologies, helping fellow developers stay ahead in the ever-evolving tech landscape.
417 Posts
Page 17 of 18

Projects •
Oct 6, 2024
In this project, we will create a Quiz Game using Python. The game will present multiple-choice questions to the player,...

Projects •
Oct 6, 2024
In this project, we will create an E-commerce Management System using Python, allowing basic management of products, customers, and orders....
Projects •
Oct 6, 2024
In this project, we’ll create a Weather Forecasting Application using Python. The app will allow users to input a city...
Projects •
Oct 6, 2024
This project involves creating an Expense Tracker Application using Python, where users can log their daily expenses, view their spending...
Projects •
Oct 6, 2024
This project will involve creating an Online Exam System where students can log in, take exams with multiple-choice questions, and...
Projects •
Oct 6, 2024
This project involves building a Hospital Management System using Python, Tkinter for the GUI, and SQLite for managing the hospital’s...
Projects •
Oct 6, 2024
In this project, we will create a Library Management System that helps manage book records, including the ability to add,...
Projects •
Oct 6, 2024
Here’s a basic outline for creating a “Student Management System” using Python. This project will involve managing student data (such...

Projects •
Oct 6, 2024
These projects involve Python fundamentals, database connectivity (like SQLite or MySQL), and GUI design (Tkinter), perfect for a Class 12...

Technology •
Oct 3, 2024
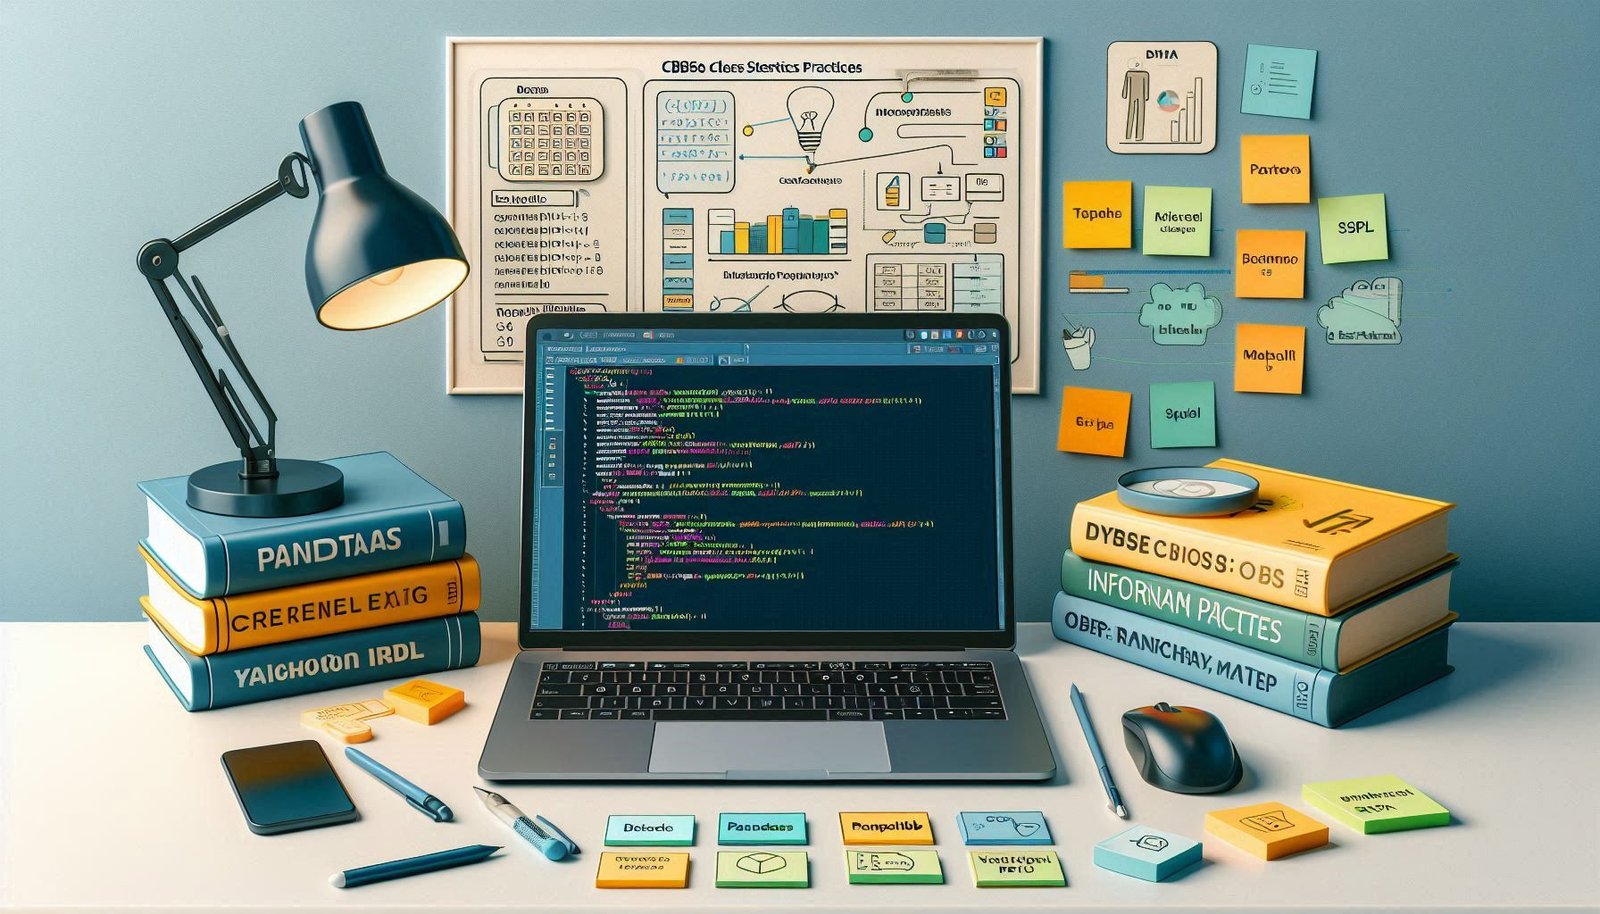
The CBSE Class 12 Informatics Practices (IP) viva plays a crucial role in assessing a student’s understanding of practical concepts....

WordPress •
Oct 3, 2024
WordPress is known for its flexibility, and one of the most powerful features of this platform is Custom Post Types...

WordPress •
Oct 3, 2024
Creating your own custom WordPress theme from scratch may seem daunting, but with the right approach, it’s a rewarding way...

WordPress •
Oct 3, 2024
WordPress is one of the most popular platforms for building websites, and its flexibility lies in its ability to extend...
Technology •
Oct 3, 2024
Understanding the basics of computer networks is essential for Class 12 students, especially when preparing for the CBSE Informatics Practices...

Technology •
Oct 3, 2024
As the CBSE board exams approach, students often feel overwhelmed by the vast syllabus, especially for technical subjects like Informatics...

CBSE •
Sep 25, 2024
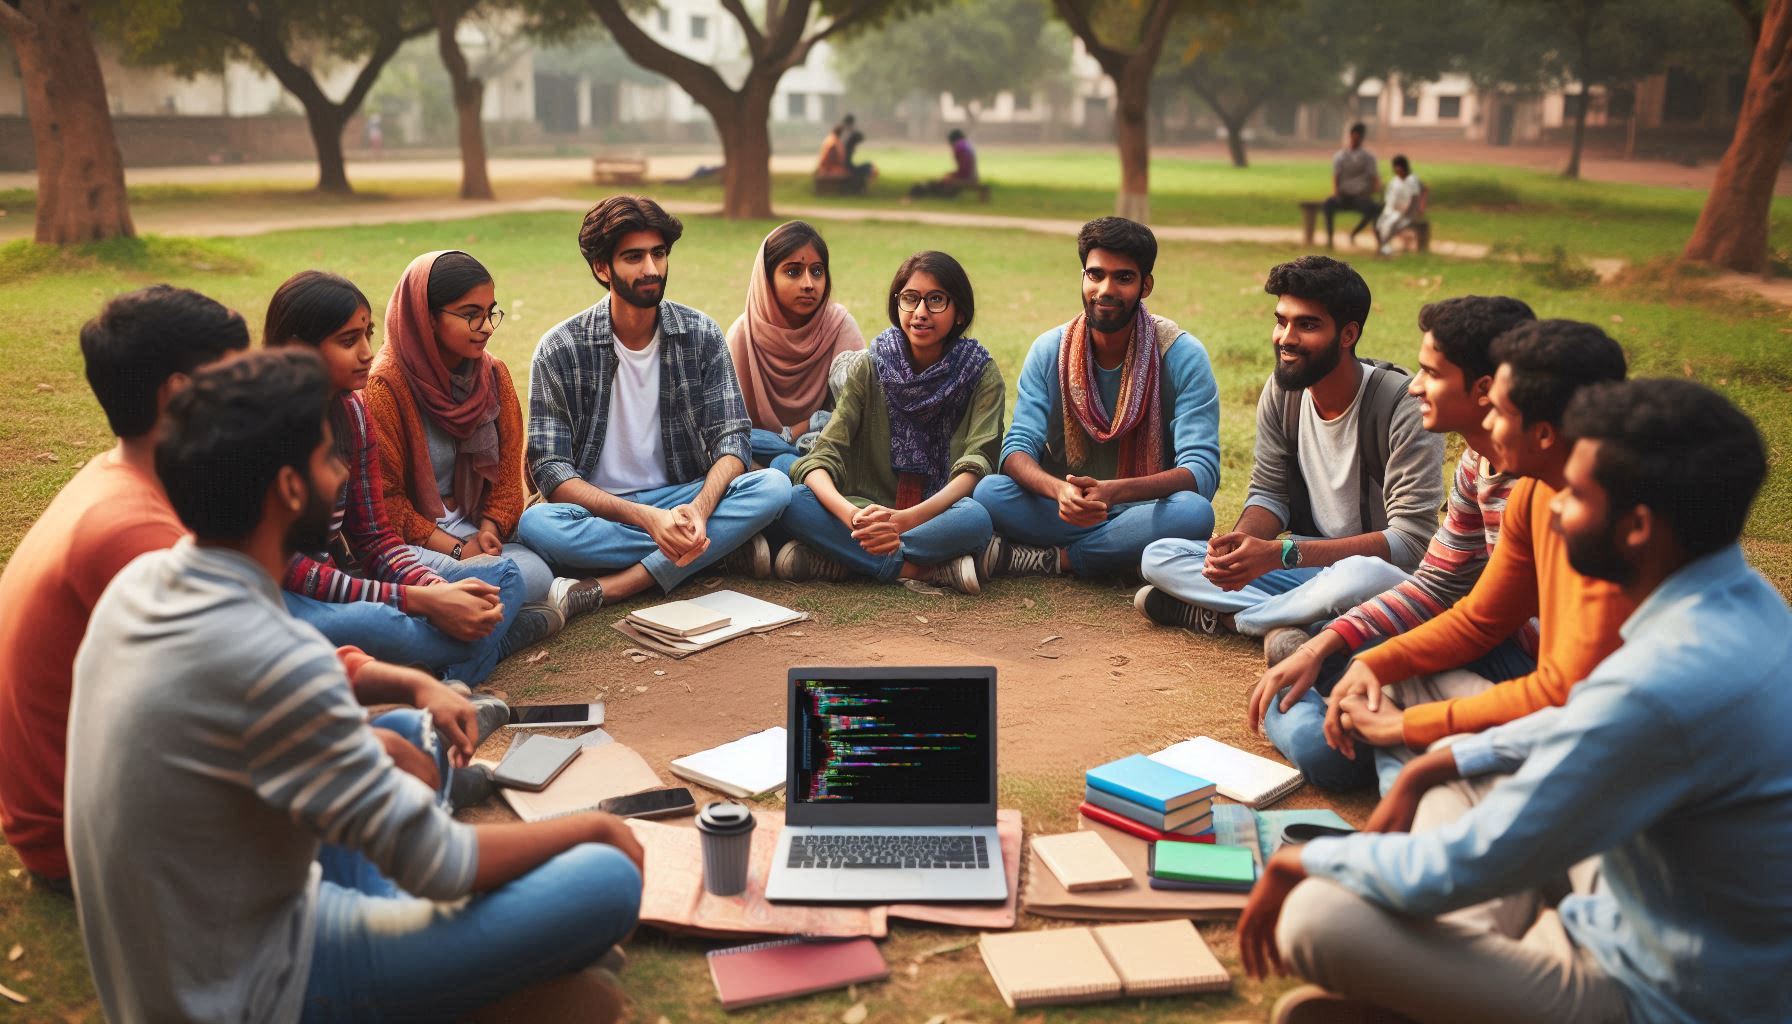
Choosing the right subjects in Classes 11 and 12 is a pivotal decision for students in the CBSE curriculum. One...

CBSE •
Sep 24, 2024
Are you a student of Class 11th or 12th preparing for your CBSE Computer Science (CS) or Informatics Practices (IP)...

WordPress •
Sep 24, 2024
In today’s digital age, having a professional online presence is essential for businesses, freelancers, and even individuals. Whether you’re looking...

Uncategorized •
Sep 24, 2024
Are you looking to build a career in web development and become proficient in both frontend and backend technologies? If...
Uncategorized •
Sep 24, 2024
In today’s tech-driven world, programming skills are in high demand, and Java remains one of the most popular and versatile...

Online Business •
Sep 24, 2024
आज के तेजी से बदलते डिजिटल परिदृश्य में, ऑनलाइन उपस्थिति होना अब एक विलासिता नहीं, बल्कि एक आवश्यकता है। चाहे...

Online Business •
Sep 24, 2024
In today’s rapidly evolving digital landscape, having an online presence is no longer a luxury; it’s a necessity. Whether you’re...

CBSE •
Sep 22, 2024
Prepare effectively for the CBSE Class XII Board Exams 2024-25 with the latest sample question papers and marking schemes. Designed...

SEO Strategy •
Sep 22, 2024
Understanding Keyword Rankings Keyword rankings are crucial for any website’s SEO strategy, especially for WordPress users. Monitoring how well your...