Projects •
Oct 31, 2025
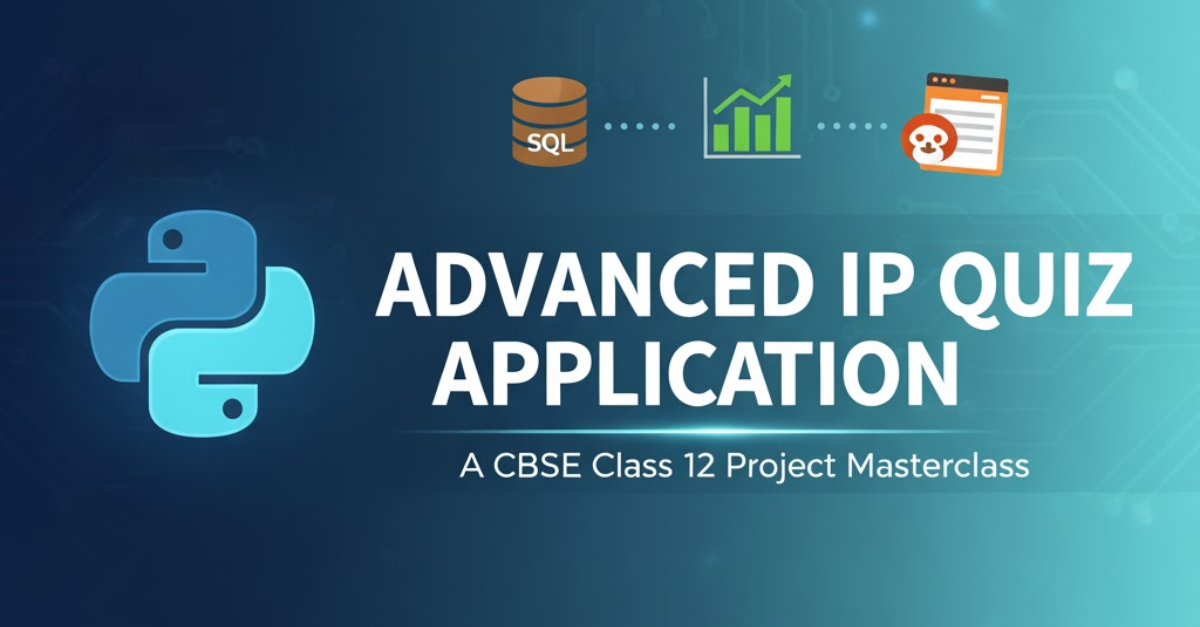
Advanced Quiz Application Using Python, Pandas, Matplotlib & MySQL | CBSE Class 12 IP Project
Table of Contents Introduction Welcome to this comprehensive tutorial by Vikram Singh Rawat from Itxperts! In this guide, we’ll build an advanced Quiz Application...